.jpeg)
Stompa!
- MinipainterZ

- Jan 23, 2021
- 2 min read
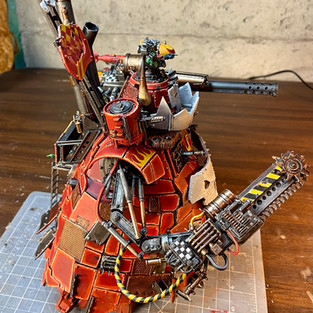
Recently I was offered a trade for my painting services. For it, I received this shiny (ok somewhat dusty) Stompa! Now that I have finished up, I'll share a few tidbits around my process.
Prime time

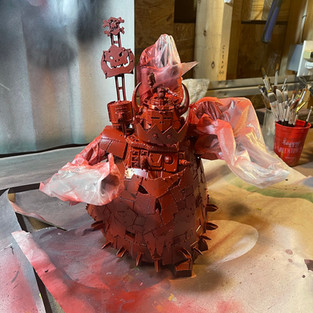

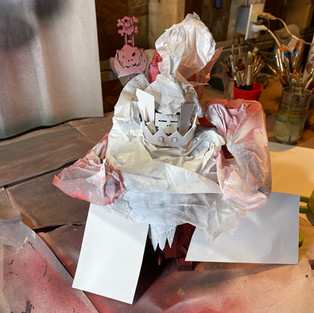


Primed with Mephiston red here and black. Since I don't have an airbrush, I used saran wrap to mask out the large areas and used a spray-paint to cover the black, red and white areas.
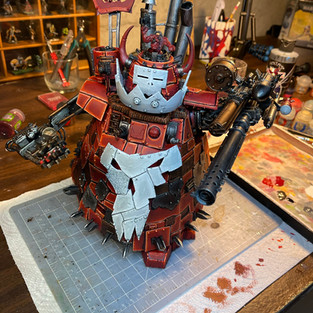
Panels


Painted the red panels with the technique in the above diagram [details here] Took a while but worth it.
For the white areas I tried giving it a wash of contrast apothecary white, but the wash didn't hold up well on the flat areas, causing some pooling that I went back and smoothed over with Uthuan Grey, then edge highlighted with white.
For the copper I used base of Hashnut copper and warplock bronze in the recesses, then gave it an agrax earthshade wash. For the metal I used a base of Iron warriors and Ironbreaker for highlight areas, then the standard nuln oil wash.
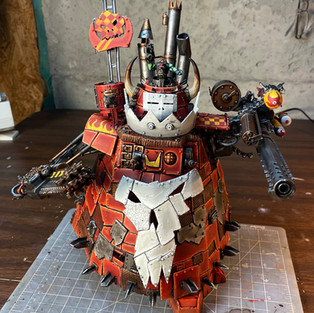
Bits and Such
I realize I am skipping over a bit here, but you can check out the blog index to see some of the techniques I used for yellow, patterns, and ork skin.


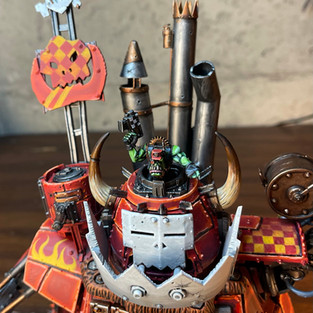
I appreciated that the model was put together (I'm not an enthusiastic modeler) BUT this did have some disadvantages, especially when painting the ork pilot and some of the rokkits. I had to get creative with the angle of my brush and finding new ways to hold my elbows close to my body and arm locked in place for a steady hand
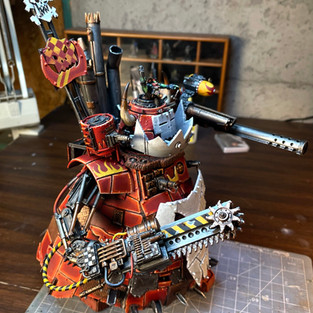
Like my other vehicles, I focused on thick broad brushstrokes with less emphasis on transitional blending. Bold is best here
I worked over a period of 11 days, in 1-2hr increments. This kept me fresh and up to date with my podcasts!
The toughest spots was the rockets. Large flat rounded areas don't lend themselves to nice highlights as much.
Used a LOT of colors, as evidenced by the mass migration of paints from my normal workbench to my basement Stompa workshop. Wet pallet essential, as I often had to touch up a variety of areas as I went along
I used mostly junk brushes. I bought a package at Hobby Lobby that worked well. Saved my good brushes when I got to the pilot and had to go a level higher in detail.
Added a few Gretchin to the back that were pre painted. Just went back and touched em up a little.
Conclusion
Well there you have it. Now time to get some sort of storage and transportation method worked out so I can get Big Bessie to the gaming table. I have a styrofoam box that I think will work well. Now on to the big Boss GHAZ himself! I'm a bit torn as how to paint him. I am thinking mostly black, but with a few red panels to represent Evil Sunz.


Comments